top of page
Character Animation
In this session I learned about the controls used for animating in maya, setting keys and auto-key. We looked at Graph Editor , some examples of animated balls and a video reference of how different balls react when they come in contact to the floor. I created my own animation of the ball bouncing and changing direction by following tutorial reference. I made use of motion trail to make the ball bounce around.
Animation Controls

Setting Key


Using the channel Box to set key through Translate x , Z and Y.

Maya – Graph Editor navigation

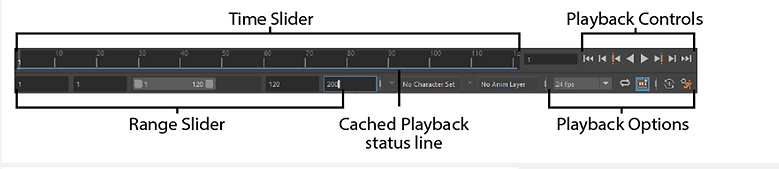
The graph editor can be used to make the animation smooth.
Bouncing Ball – Video Reference - Arcs
We looked at different sport balls as reference to see how they reacted when dropped on the floor and bounced off a wall. The less weight the ball has the more it will bounce.


The Bouncing Ball
I followed the teachers instruction to create a simply ball that bounces up and down. By going to different frames, setting keys and making use of stretching and squashing depending on the position of the ball.


For this exercise I created a nurbsphere and grouped it three times to create a section for scale, translate and rotate after that I choose positions and set keys. In the graph editor I could see what had to be improved. I used it to smooth my animation.
In the animation section under visualize, I was able to create a motion trail that enable better control of the motion outside of the graph.
Bringing objects to life
We lokeed at objects that were given life In the FANTASIA movie. I animated a Floursack rig and created my own arm rig.
I used rig controls to animate the flour-sack by using the moving and rotation tool to change direction and the animation control to set the keys, change settings and preview the animation.
In this session I animated a more advance arm by using Inverse kinematics (IK) to animate the arm placement and Forwards kinematics (FK) to rotate the arm and hannd. I also created my own leg rig
In this session I animated a more advance arm by using Inverse kinematics (IK) to animate the arm placement and Forwards kinematics (FK) to rotate the arm and hand. I also created my own leg rig


Leg Rig – Base Geometry


I followed a walk-through to create mesh for my legs and joint chain, IK handle and nurbs control that enabled the legs to move in different directions, allowing me animate it freely.
Dynamic Pose

Weight balanced on left leg with hips rotated/shoulders back.

straight lines on spine

S’ shape on spine and angles offset on shoulders/hips

arcs on spine and angle of legs
Head Turn
Assessment 2 Video
Final Project

I used some techniques
learned in class to create
my on robot leg rig .
I added some joints and nurbs circle and parented the model.


I create a eye ball
locator and assign then to a aim constrain to move the eyeball in any directions.


To make the arm model I followed what I learned in class. I moved the axis position and parent one by one


Heading 6

I animated the robots eyes, legs and hand added a few little models. then I added and animated a camera to follow the action.


The sounds were the last thing I added. I had a few difficulties exporting the sound with the footage

I render the footage using Arnold render settings and exported the sound through Playblast.
Final Render
bottom of page